Summertime is officially here and while you may be plotting and planning your next jaunt to thebeach, there are some of us out there that just don’t have the time (or budget) to make it to there just yet. Or maybe you’ve already been to the beach and find that your tan is slowly fading away? Either way, here’s how you can achieve a glowing, natural looking tan all in the comfort of your own home!
1. Prep your skin the day before by exfoliating and shaving.
According to St. Tropez Skin Finishing Expert Sophie Evans, this will help your sunless tan to last longer. The exfoliation will help to slough off any dead skin cells, allowing the color in your self-tanner to stick better and shaving will make for a smooth surface.
Start by exfoliating before jumping into the shower or bath by gently rubbing all over your body. (I love to use a good bath brush such as the Eco Tools Bamboo Bristle Bath Brush ($6, drugstore.com) when completing this step!
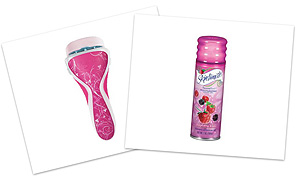
Make sure that you use a super moisturizing shave cream such as Skintimate Signature Scents Moisturizing Shave Gel in Raspberry Rain ($4,Yahoo! Shopping) along with your razor. I usually take the lazy girl route when it comes to shaving and always use my SchickIntuition Plus Razor ($9, drugstore.com) since it contains a razor and moisturizer all in one.
|
2. Moisturize like crazy.
The next day before hopping into the shower or bath, apply a hydrating body oil such as theNeutrogena Body Oil ($14 for 16 oz., Yahoo! Shopping) to smooth out the surface of your skin, Neutrogena Ambassador Amy Oresman says.
After getting out of the shower or bath, towel blot your skin dry and immediately apply more body oil. “Make sure that you apply the body oil on all joints, hands and feet since self-tanner can develop darker there than anywhere else on the body,” Evans advises.
|
3. Apply your self tanner.
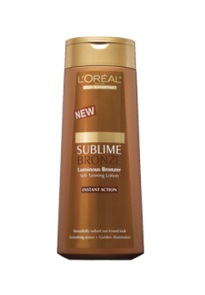
While there are tons of great self-tanners out there on the market, you should keep in mind exactly what your level of expertise of tanning actually is before you apply. If you’re new to all of this (or if you’ve only done it a couple of times) you may want to stick with the lotion (such asL’Oreal Sublime Bronze Luminous Bronzer Self-Tanning Lotion ($9, Yahoo! Shopping) form as it will make for easier application.
When using a lotion or cream form, simply apply to your skin and rub in just as you would do a regular body lotion. I’ve found it to be most effective when I use circular motions while applying as it makes for a more even coverage.
If you’re a self-tanning novice, then you may go straight for the spray version. When using a spray version of self-tanner, nice and easy is the key here. Use latex gloves or an applicator mitt such as the St. Tropez Tanning Essentials Tan Applicator Mitt($6, sephora.com) before applying to avoid staining your hands. Now it’s time to spray!
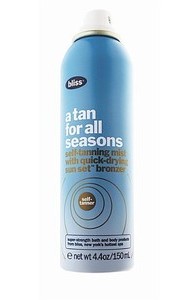
“To avoid splotchiness or streaks, choose a high-quality self tanner,” Evans says. I’ve found the most effective at-home spray tanners to be the Luminess Complete Personal Airbrush Tanning System ($150, ulta.com) as well as theBliss : A Tan For All Seasons ($36, Yahoo! Shopping).
Do not spray closely to the skin; instead, make sure that you’re spraying from at least 4-5 inches away (much like you would do when using hair spray) otherwise your tan will look streaky and uneven. Evans advises applying your base coat first and then spray a heavier second coat along your natural curves and along contours. Then, lightly spray your hands and feet.
After you’ve finished applying, wait about 5-10 minutes before putting any articles of clothing. You’ll want to have a streak free finish and you could ruin all of your amazing tan by putting on clothes. Instead, go ahead and start doing your hair and makeup. By the time you finish, your tan should be set. Also, remember too that just because you are rocking an awesome self-tan doesn’t mean that you shouldn’t wear sunscreen if you’re going to be out in the sun. Use a light mist of sunscreen such asNeutrogena Ultra Sheer SPF 45 ($12, Yahoo! Shopping).
|


